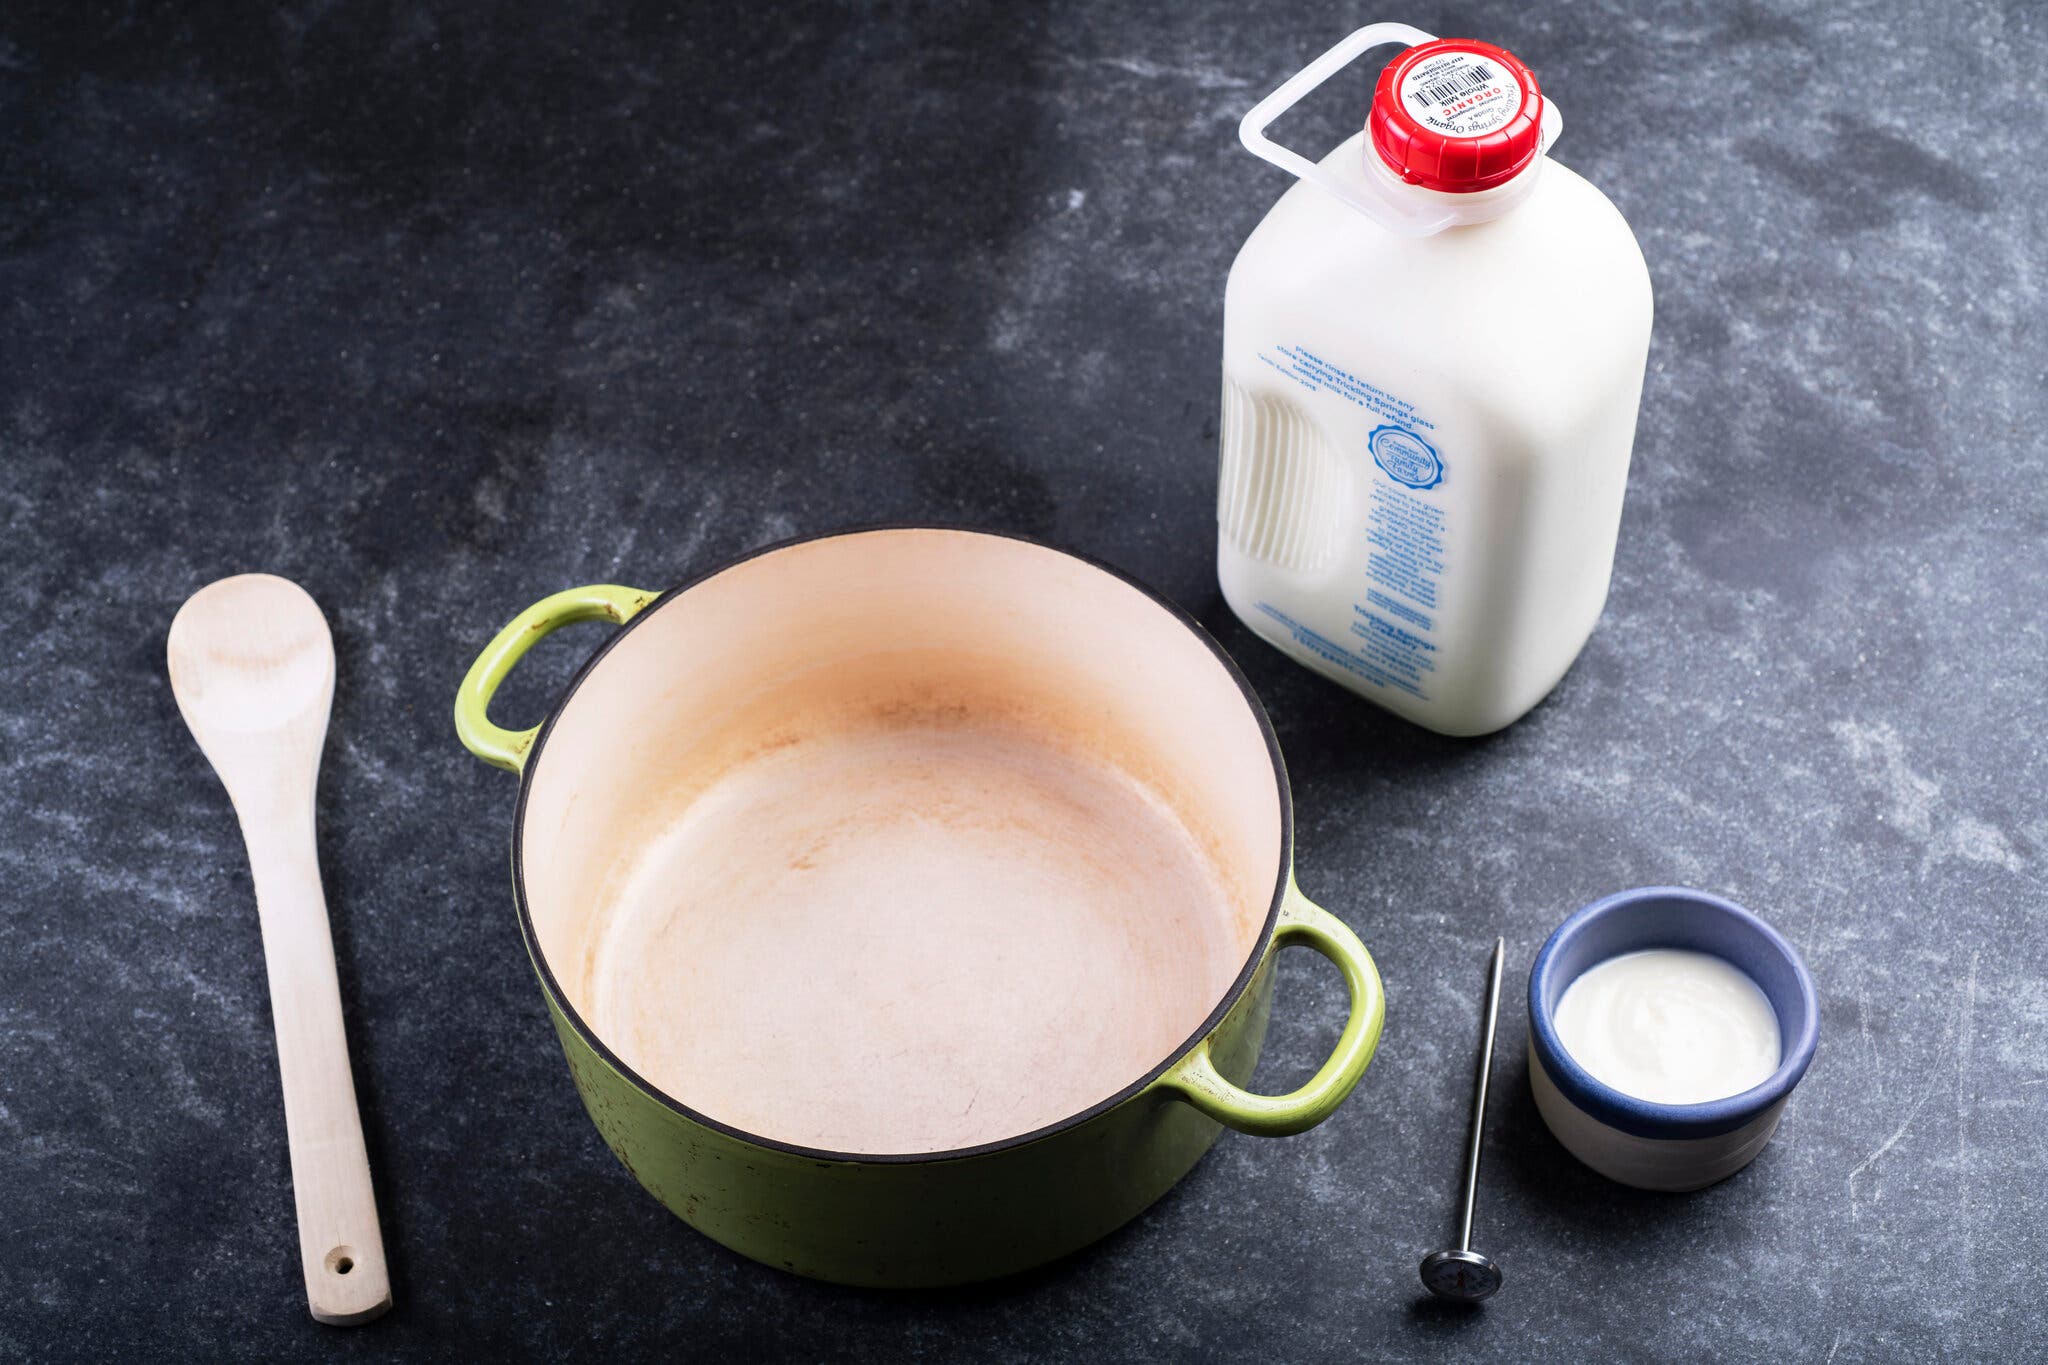
All you really need is good-quality milk, a few spoonfuls of your favorite plain yogurt and time.
With just minutes of work, you can have delicious homemade yogurt.Karsten Moran for The New York Times
[This article was originally published on July 18, 2018.]
If you love yogurt, making your own should be a culinary rite of passage, along the lines of baking your own bread or roasting a chicken, though easier than either. Mere minutes of active time, and the payback is huge: a pot of tangy, silky yogurt, made with ingredients you can control and personalized to your tastes.
Karsten Moran for The New York Times
-
A good, heavy-bottomed saucepan, to heat the milk evenly.
-
While people were making yogurt before they were invented, a good, digital instant-read thermometer takes out the guesswork.
-
Whisk or wooden spoon, for stirring. Cheesecloth and fine sieve or colander, for straining and thickening. Containers with tightfitting lids, for storing.
-
If you have a yogurt maker, a slow cooker or multipot with a yogurt button, you can make yogurt directly in that appliance. Check your manual for instructions since brands and models vary.
Wirecutter, a product recommendations website owned by The New York Times Company, has guides for picking the best instant-read thermometers and slow cookers.
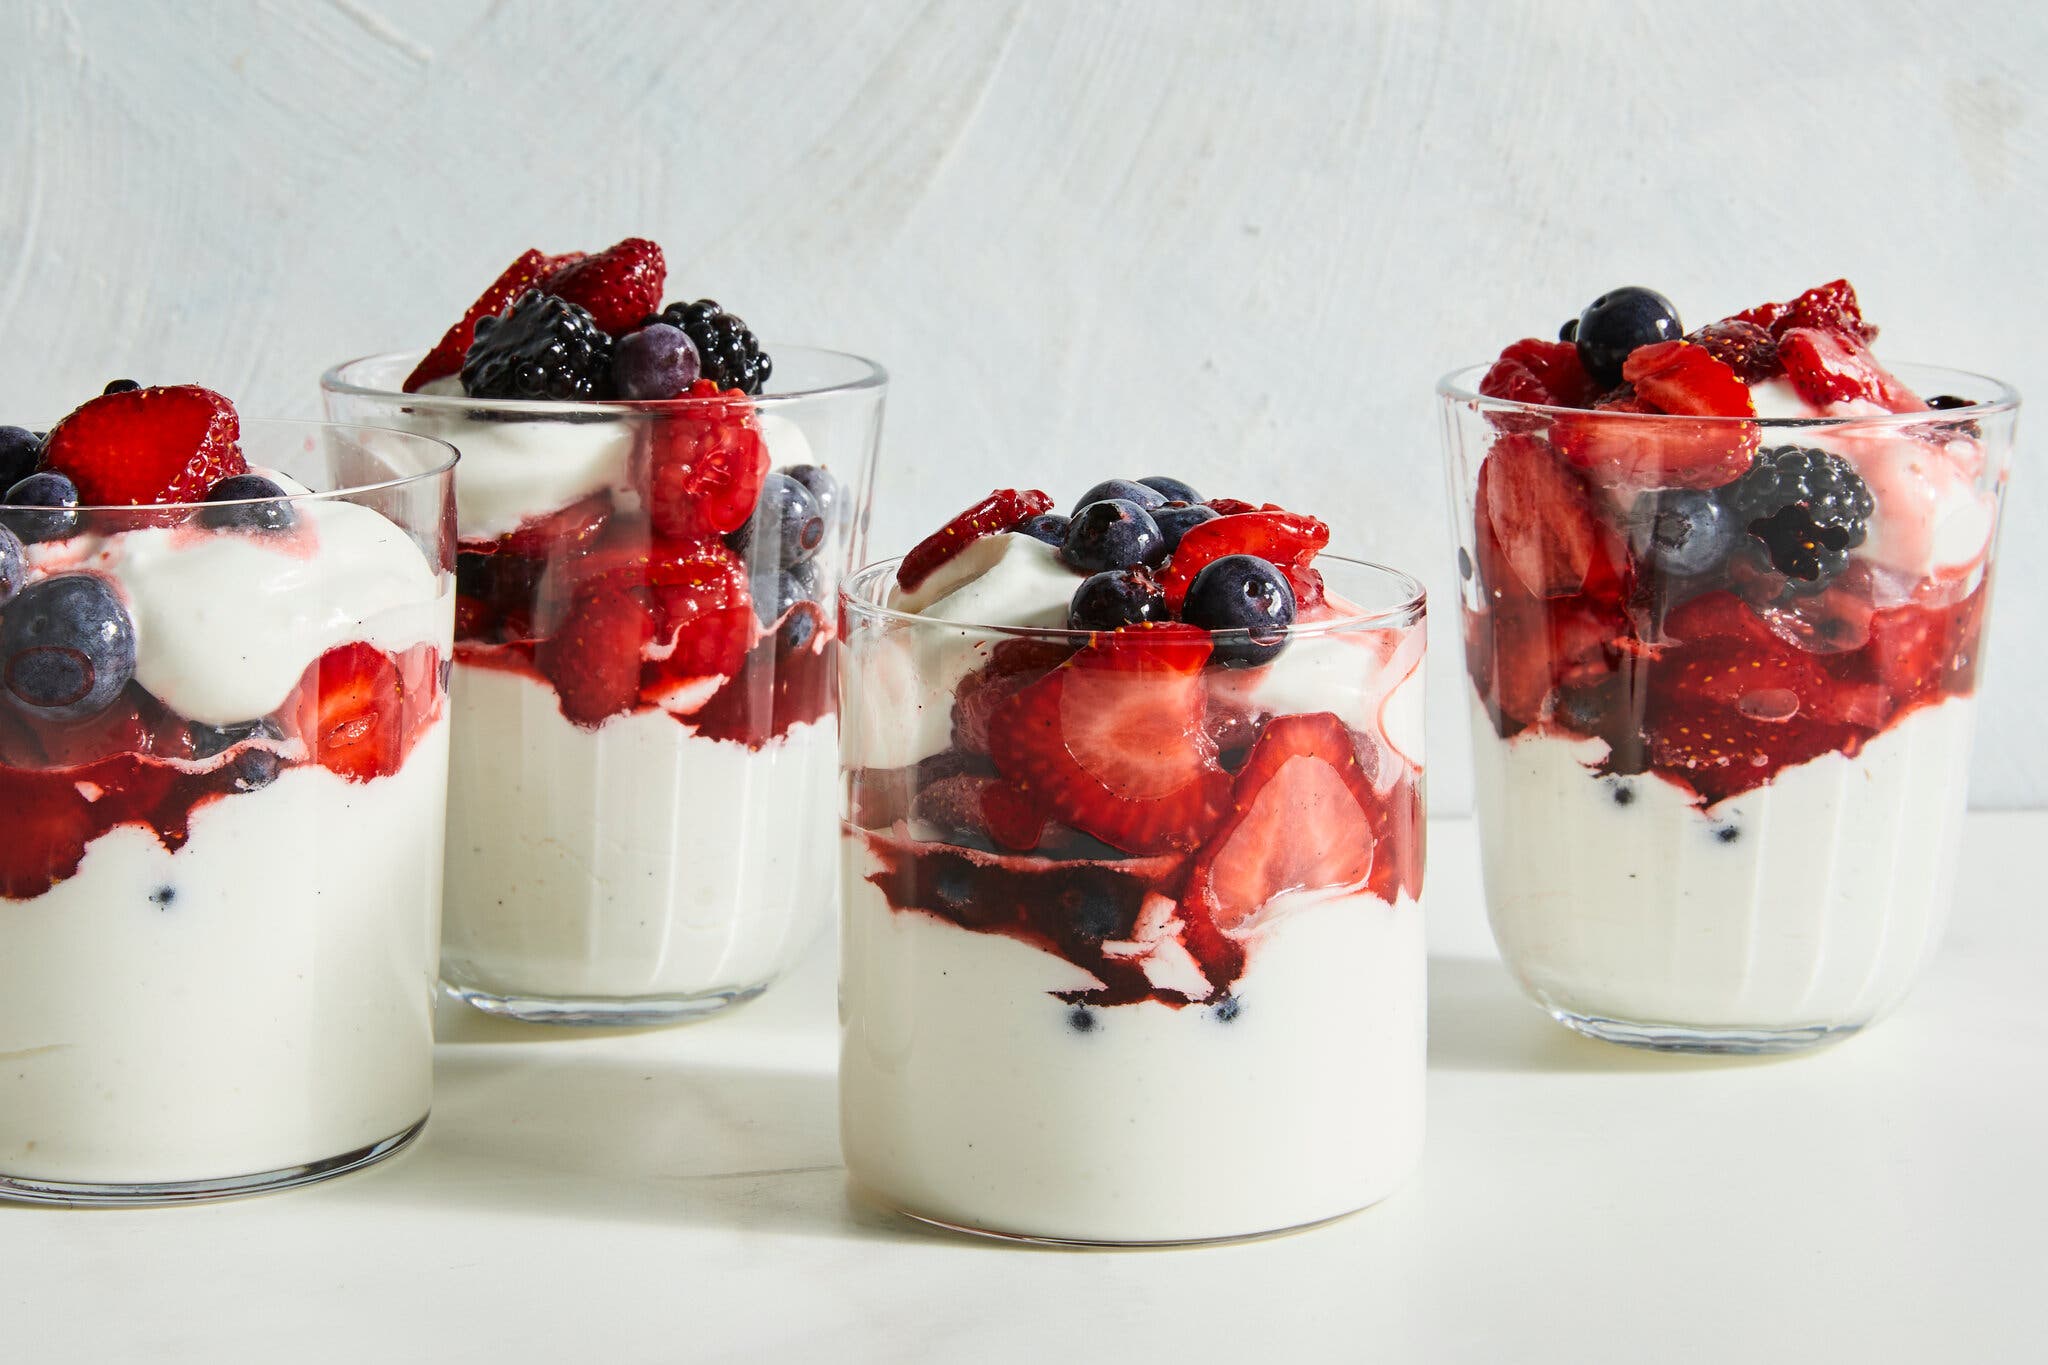
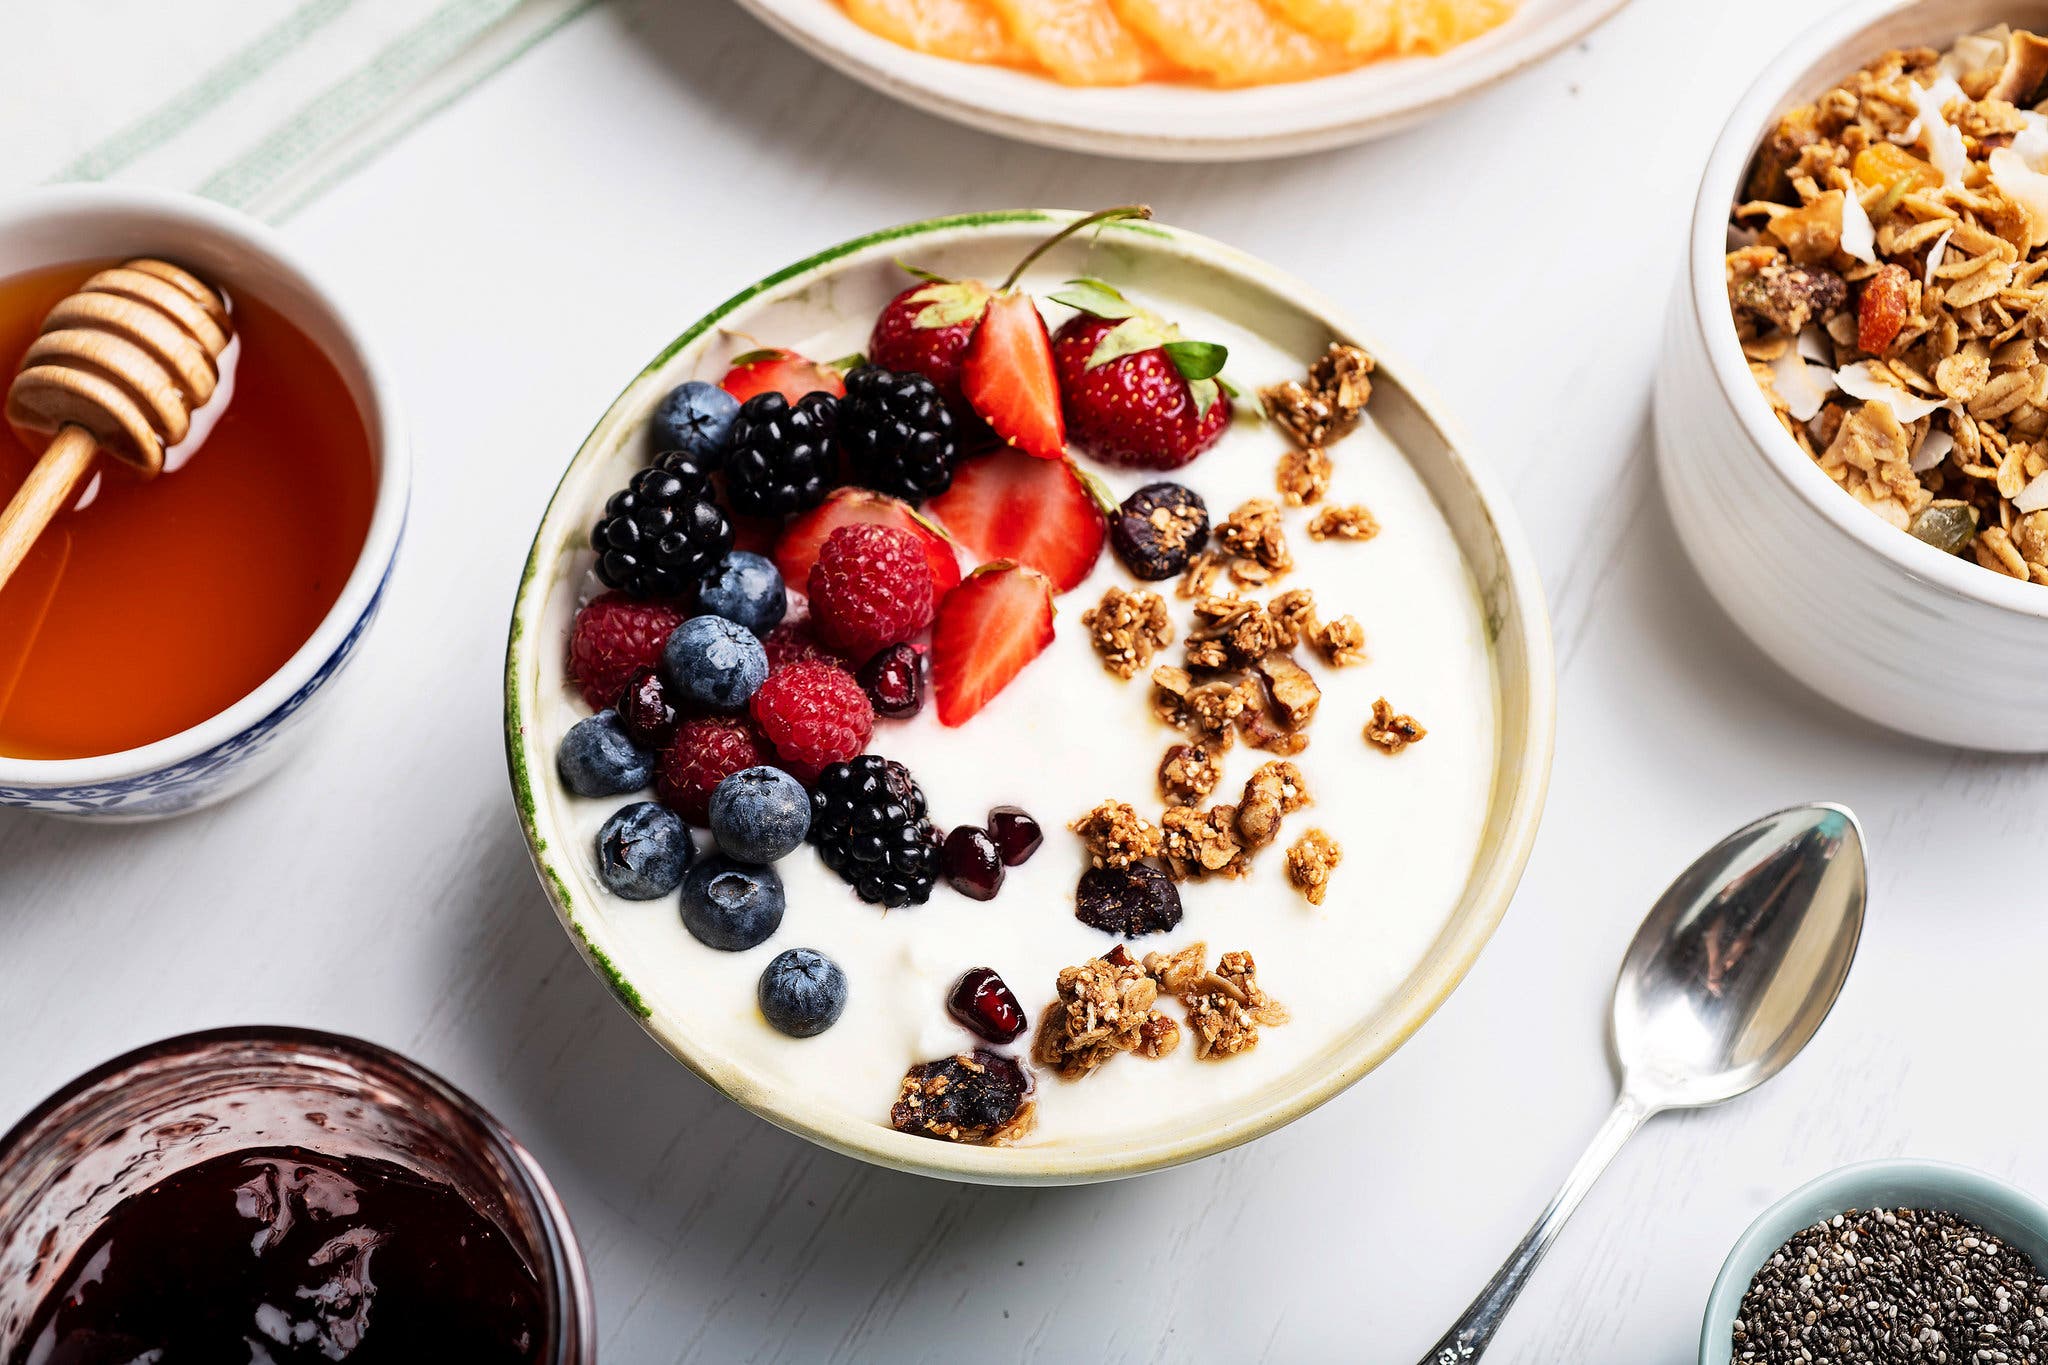
Homemade yogurt can elevate any recipe that calls for the store-bought version, like this berry dessert from Yossy Arefi. Linda Xiao for The New York Times. Food Stylist: Yossy Arefi.
Yogurt is simply milk that has been mixed with specific types of good bacteria, then left to ferment. Good-quality, store-bought yogurt made without additives can be expensive — if you can even find it. Those who eat dairy may find some at farmers’ markets or in gourmet stores, but fine alternative yogurts are much harder to come by. Making your own guarantees a supply, and, in time, you’ll make yogurt that’s even better than the fancy brands for a lot less money.
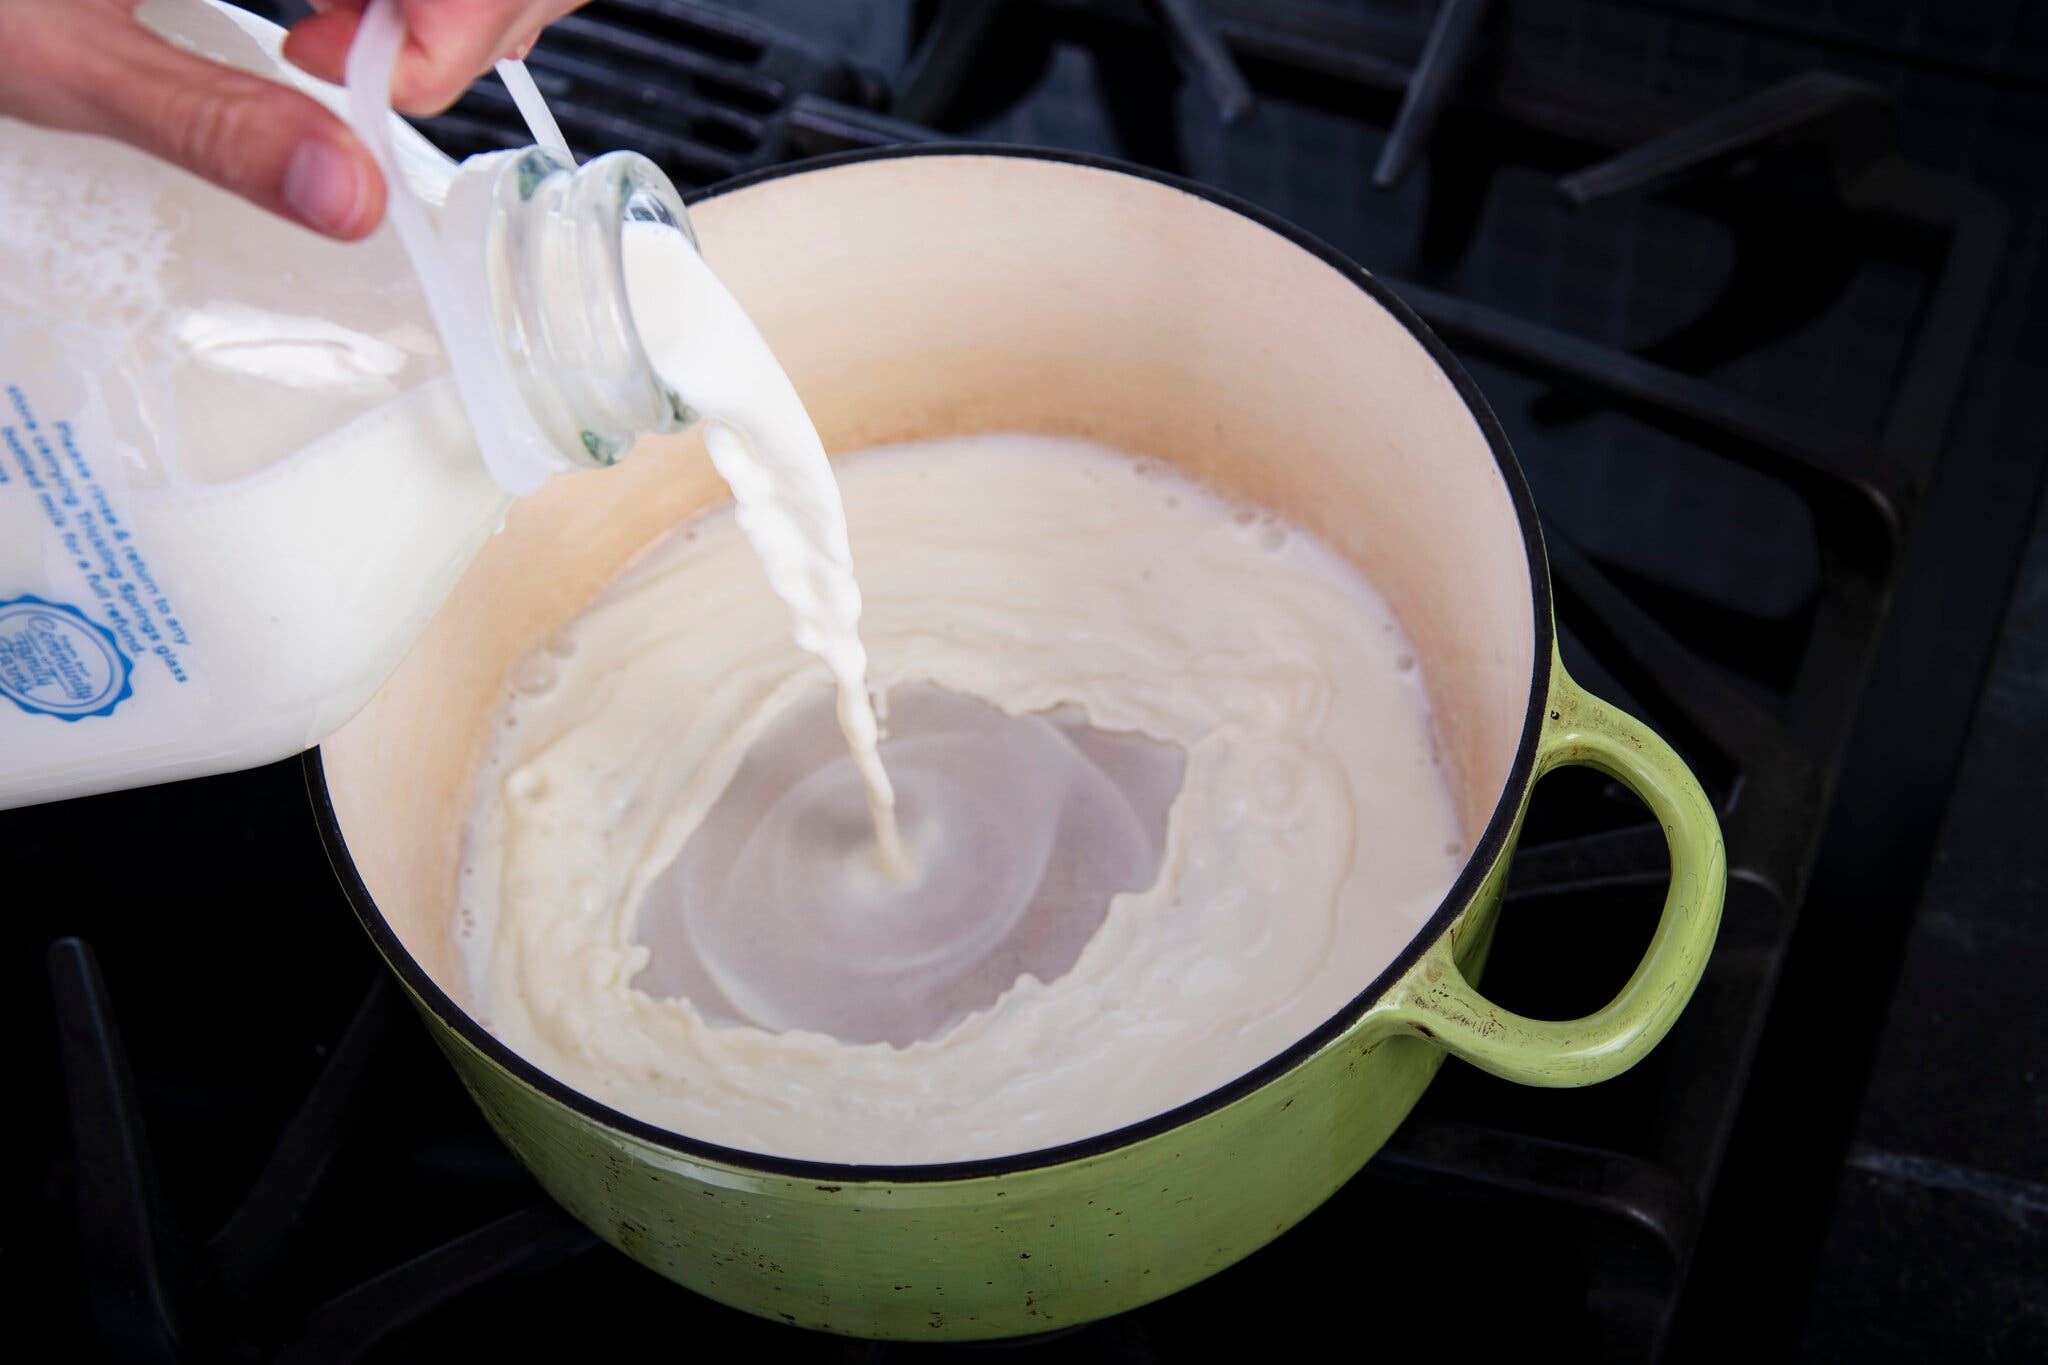
To make your own, you’ll need good-quality milk (dairy or non) and your favorite plain yogurt. The dairy milk is heated to between 180 and 200 degrees (just under boiling) to denature, or unravel, its protein structure, allowing it to thicken when it meets the bacteria. (Nondairy milk is simply simmered here to activate the starch.) Then, in both cases, the milk must be cooled to 110 to 120 degrees before the bacteria (also called the starter culture) is added. This step is important: Anything hotter than 130 degrees could hurt the bacteria; anything cooler won’t encourage its growth. Then the milk is set aside to ferment in a warm(ish) place for 6 to 24 hours, during which the good bacteria multiply, and the milk gains body and texture. Finally, the yogurt is refrigerated, to stop the fermentation while the yogurt thickens.
Starter Basics
You can’t make yogurt without a starter culture, that is, specific types of friendly bacteria to activate the fermentation process.
The two bacteria most often used are Lactobacillus delbrueckii subsp. bulgaricus and Streptococcus thermophilus. Lactobacillus delbrueckii subsp. bulgaricus turns lactose into lactic acid, producing a sour or tangy flavor. Streptococcus thermophilus also breaks down lactose into an acid — digestible fatty acid.
For dairy yogurt, the easiest starter culture is any plain live yogurt: Look for the words live, living or alive in the ingredient list. You’ll also want to choose a starter yogurt without preservatives, but with a flavor you enjoy since you’ll taste it in your batch. You can use homemade dairy yogurt in the subsequent batches, but bear in mind that it’ll weaken over time. After a third or fourth use, it’s best to use a new starter culture. (Note: Homemade nondairy yogurt cannot be used as a starter culture.)
Yet another option is heirloom yogurt starter, available at some health-food stores and online. The yogurt you make from these strains can be used as a starter indefinitely. Think of it as analogous to a sourdough starter for bread: Just as you would in bread baking, you’ll have to use it frequently (at least once a week) to keep it active. The first batch you make from an heirloom starter might turn out on the thin side, but should thicken in subsequent batches.
To culture nondairy yogurt, you can use commercial yogurt, probiotic powder or probiotic capsules, found at health-food stores or online. (If using capsules, choose refrigerated ones over those stored on the shelf.) You can also use a vegan yogurt starter, or if it doesn’t bother you, a dairy-based starter culture will work in a nondairy yogurt.
Karsten Moran for The New York Times
You can make yogurt from just about any kind of milk, whether it comes from cows, goats or camels, nuts, pulses or grains. But no matter what milk you use, the higher the quality, the better your yogurt will be.
Dairy
You have several options for dairy milk, the most common, of course, being cow’s milk.
You can start with creamline (non-homogenized) or homogenized milk. Creamline will create a yellow layer that sits atop the yogurt, while homogenized is smooth throughout and won’t separate. For best results, choose pasteurized milk instead of sterilized or ultrapasteurized (UHT) milk. It tends to have a better flavor than ultrapasteurized, and ferments more willingly.
If you’d prefer to use sterilized or ultrapasteurized milk, you don’t need to heat it to 180 to 200 degrees. That was done before you bought it. Just heat it to 110 degrees, stir in the culture, and let it ferment.
Another variable is fat content. Fat adds creaminess and body, so the less fat a milk has, the thinner the resulting yogurt will be. (Higher-fat milks yield thicker, richer yogurts.) First published with a 2016 column, our master recipe, which calls for whole milk, with the option of adding cream, yields a luscious yogurt, but you can substitute low-fat milk: 2 percent works much better than 1 percent, both in terms of flavor and texture.
You can also make yogurt from goat’s, sheep’s or buffalo milk. Each has its own flavor. Goat’s milk, for example, is tangier than cow’s milk, and may need less time to ferment. For these yogurts, you can use a cow’s milk starter, a starter of the same milk variety (if you can find it), or a store-bought starter culture powder. Simply substitute the milks 1-to-1 for cow’s milk in our master recipe.
Lactose-free milk often won’t ferment and thicken properly. If you can’t tolerate lactose, use an alternative dairy-free milk instead.
Nondairy
Nondairy milks generally stay thin even after fermentation. They’re tangy like yogurt, but tend to be more pourable than spoonable. Thickening them, however, isn’t hard. Our master recipe uses arrowroot or cornstarch, but you can experiment with gelatin, pectin, cornstarch, agar powder or gums (locust bean or xanthan). Or enjoy them as they are in smoothies or poured over cereal.
After much testing, we’ve found cashew milk yields the best results when used in nondairy yogurt. It’s rich, gently flavored, and ferments willingly with either a yogurt starter culture or probiotic capsule. Almond milk also works, but unless it’s homemade, it stays very thin. Soy milk thickens without having to add starches or agar powder, giving you a lushly textured yogurt. (For more, see our chapter on Other Nondairy Yogurts below.) Less successful, however, is oat milk, which takes on a cardboard-like flavor when fermented. This is a great opportunity to try things out: Feel free to make the yogurt with different milks until you find the one you like best.
Karsten Moran for The New York Times
You can substitute low-fat milk here if you’d rather; 2 percent works a lot better than 1 percent. Skim milk will give you a thinner yogurt, though if you add some dry milk powder to the milk as it heats (about ½ cup), that will help thicken it. Creamline (non-homogenized milk) will give you a cream top on your yogurt. Homogenized milk is smooth throughout.
With just minutes of work, you can have delicious homemade yogurt.Karsten Moran for The New York Times
Of all the nondairy milks you could use for yogurt, cashew milk works best, turning pleasantly sour with an underlying sweetness. If you wish to go beyond cashew milk, and use soy milk, coconut milk or your homemade nut milk, see below.
There are about as many kinds of nondairy yogurt as there are nondairy milks, and, since it can be an inexact science, you can and should experiment. Here are three variations to get you started.
Soy Yogurt
Substitute soy milk and eliminate thickener. Heat milk to 180 degrees, let it cool to 110 degrees, then continue with recipe as directed for from Step 2, skipping the thickener.
Coconut Yogurt
Substitute 2 (14-ounce) cans full-fat coconut milk for the nut milk, and use ½ cup yogurt or 2 probiotic capsules as the starter. Coconut milk can often take a bit longer to ferment than other milks, so you can leave it for up to 48 hours if necessary.
Homemade Nut Milk Yogurt
In a large bowl, cover 1 cup cashews, almonds or other nuts with at least 2 inches water. Soak at least 4 hours, and preferably overnight. Drain and transfer the nuts to a blender, along with 4 cups filtered water. Blend until very smooth. Strain mixture through two layers of cheesecloth, squeezing on the solids, into a medium pot. Heat milk to 180 degrees, let it cool to 110 degrees, then continue with recipe as directed for from Step 2. The thickener is optional here. If using, follow directions in master recipe.
Karsten Moran for The New York Times
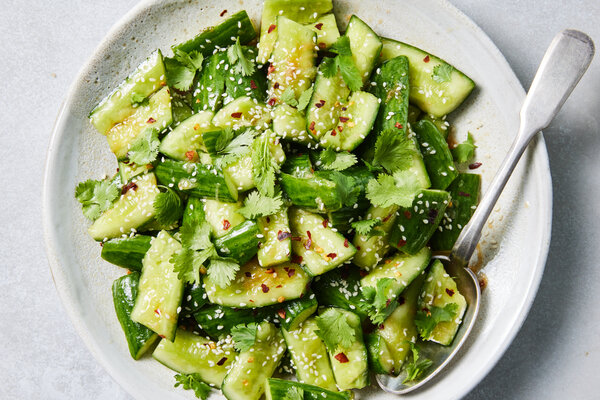
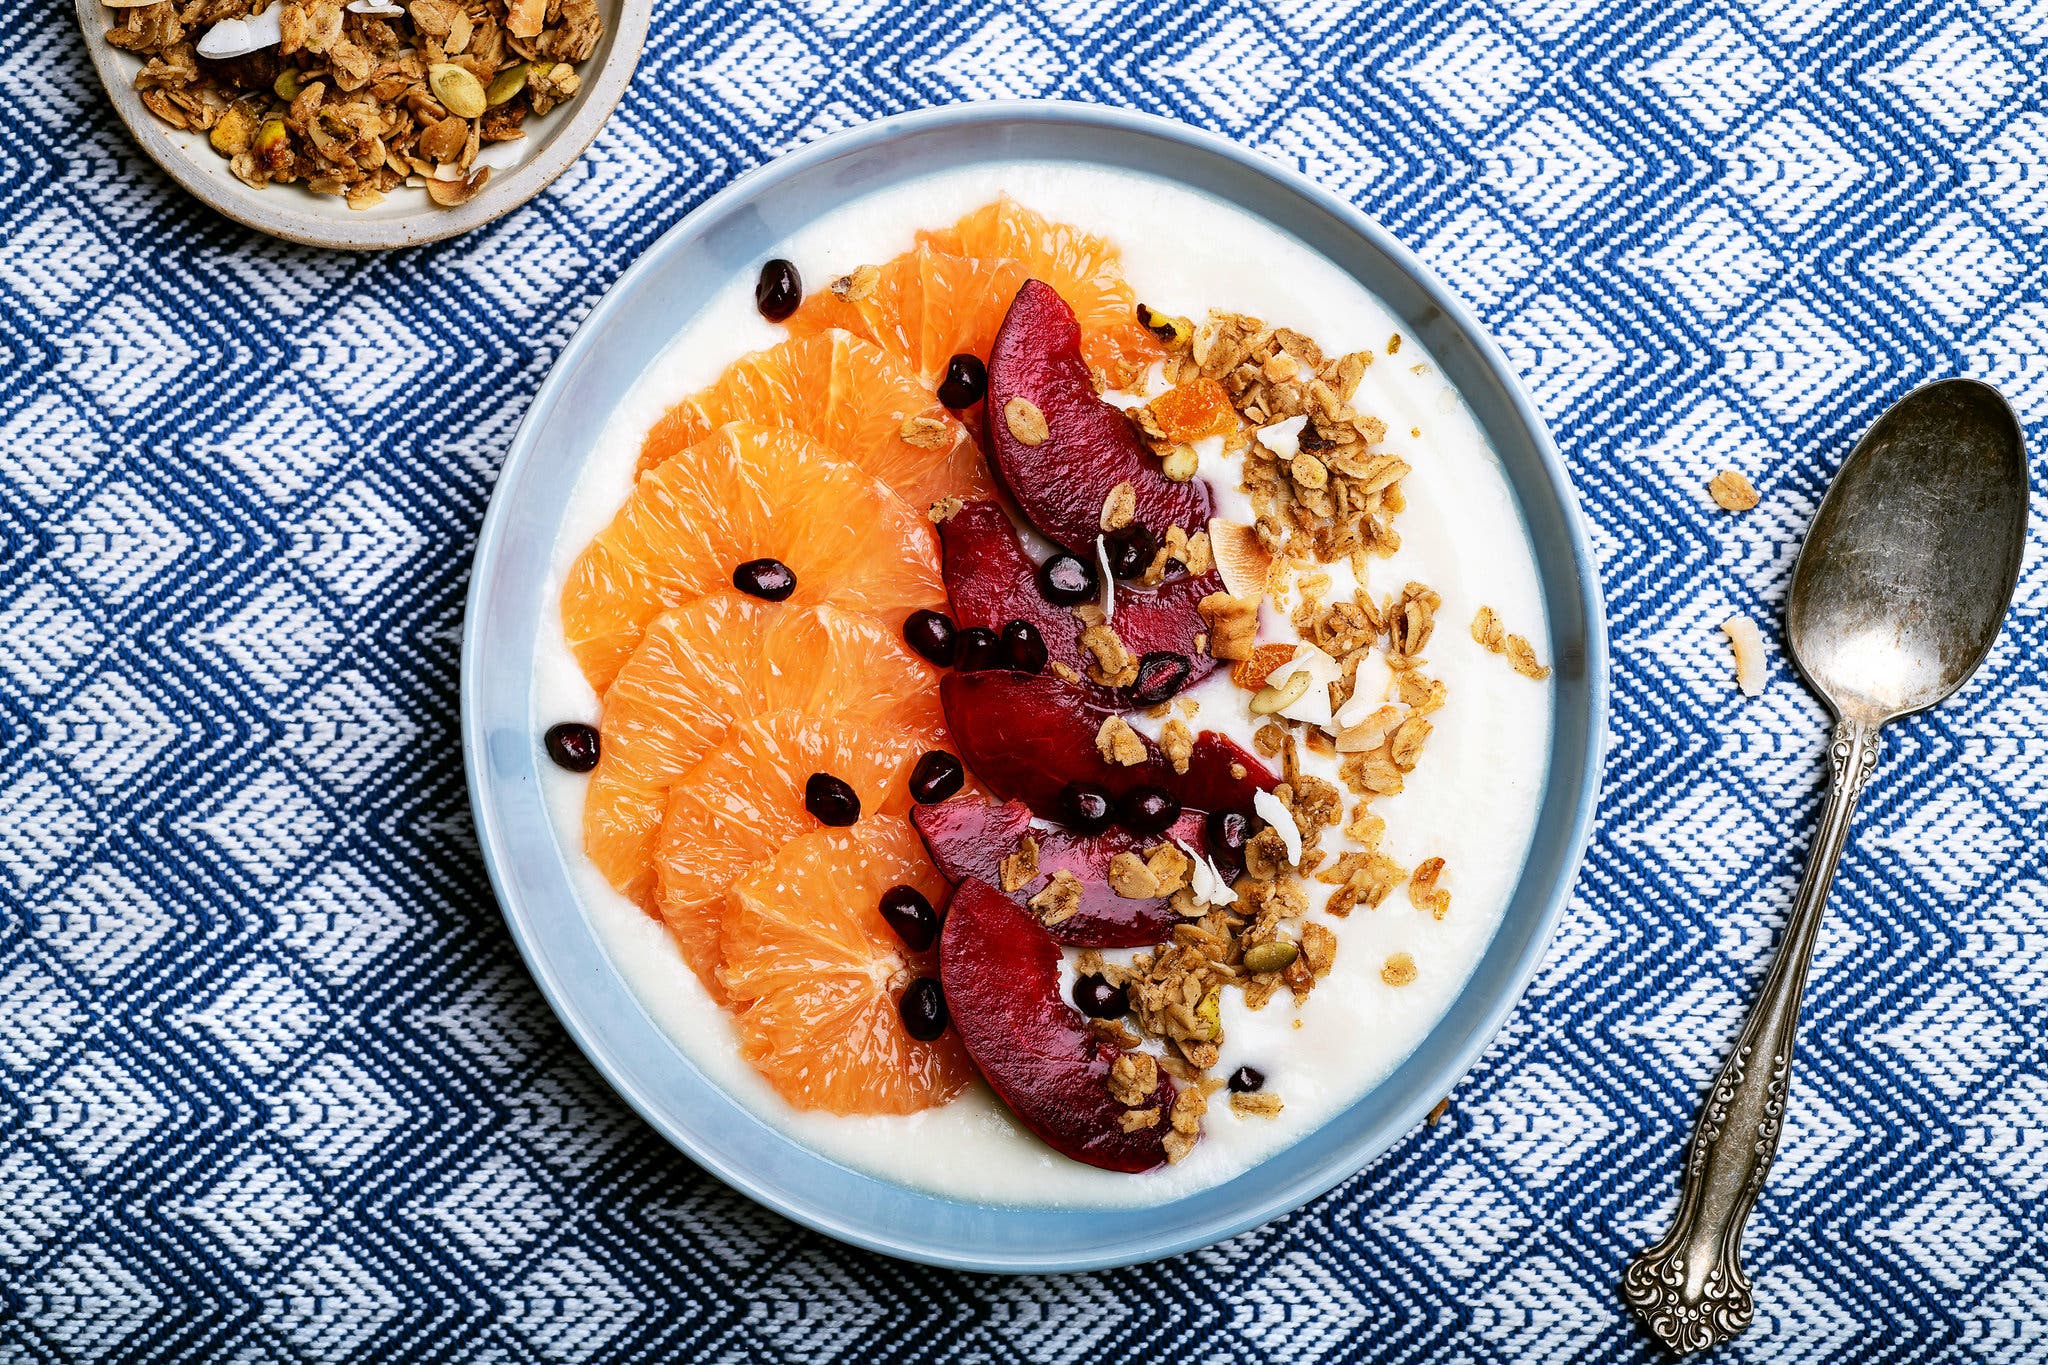
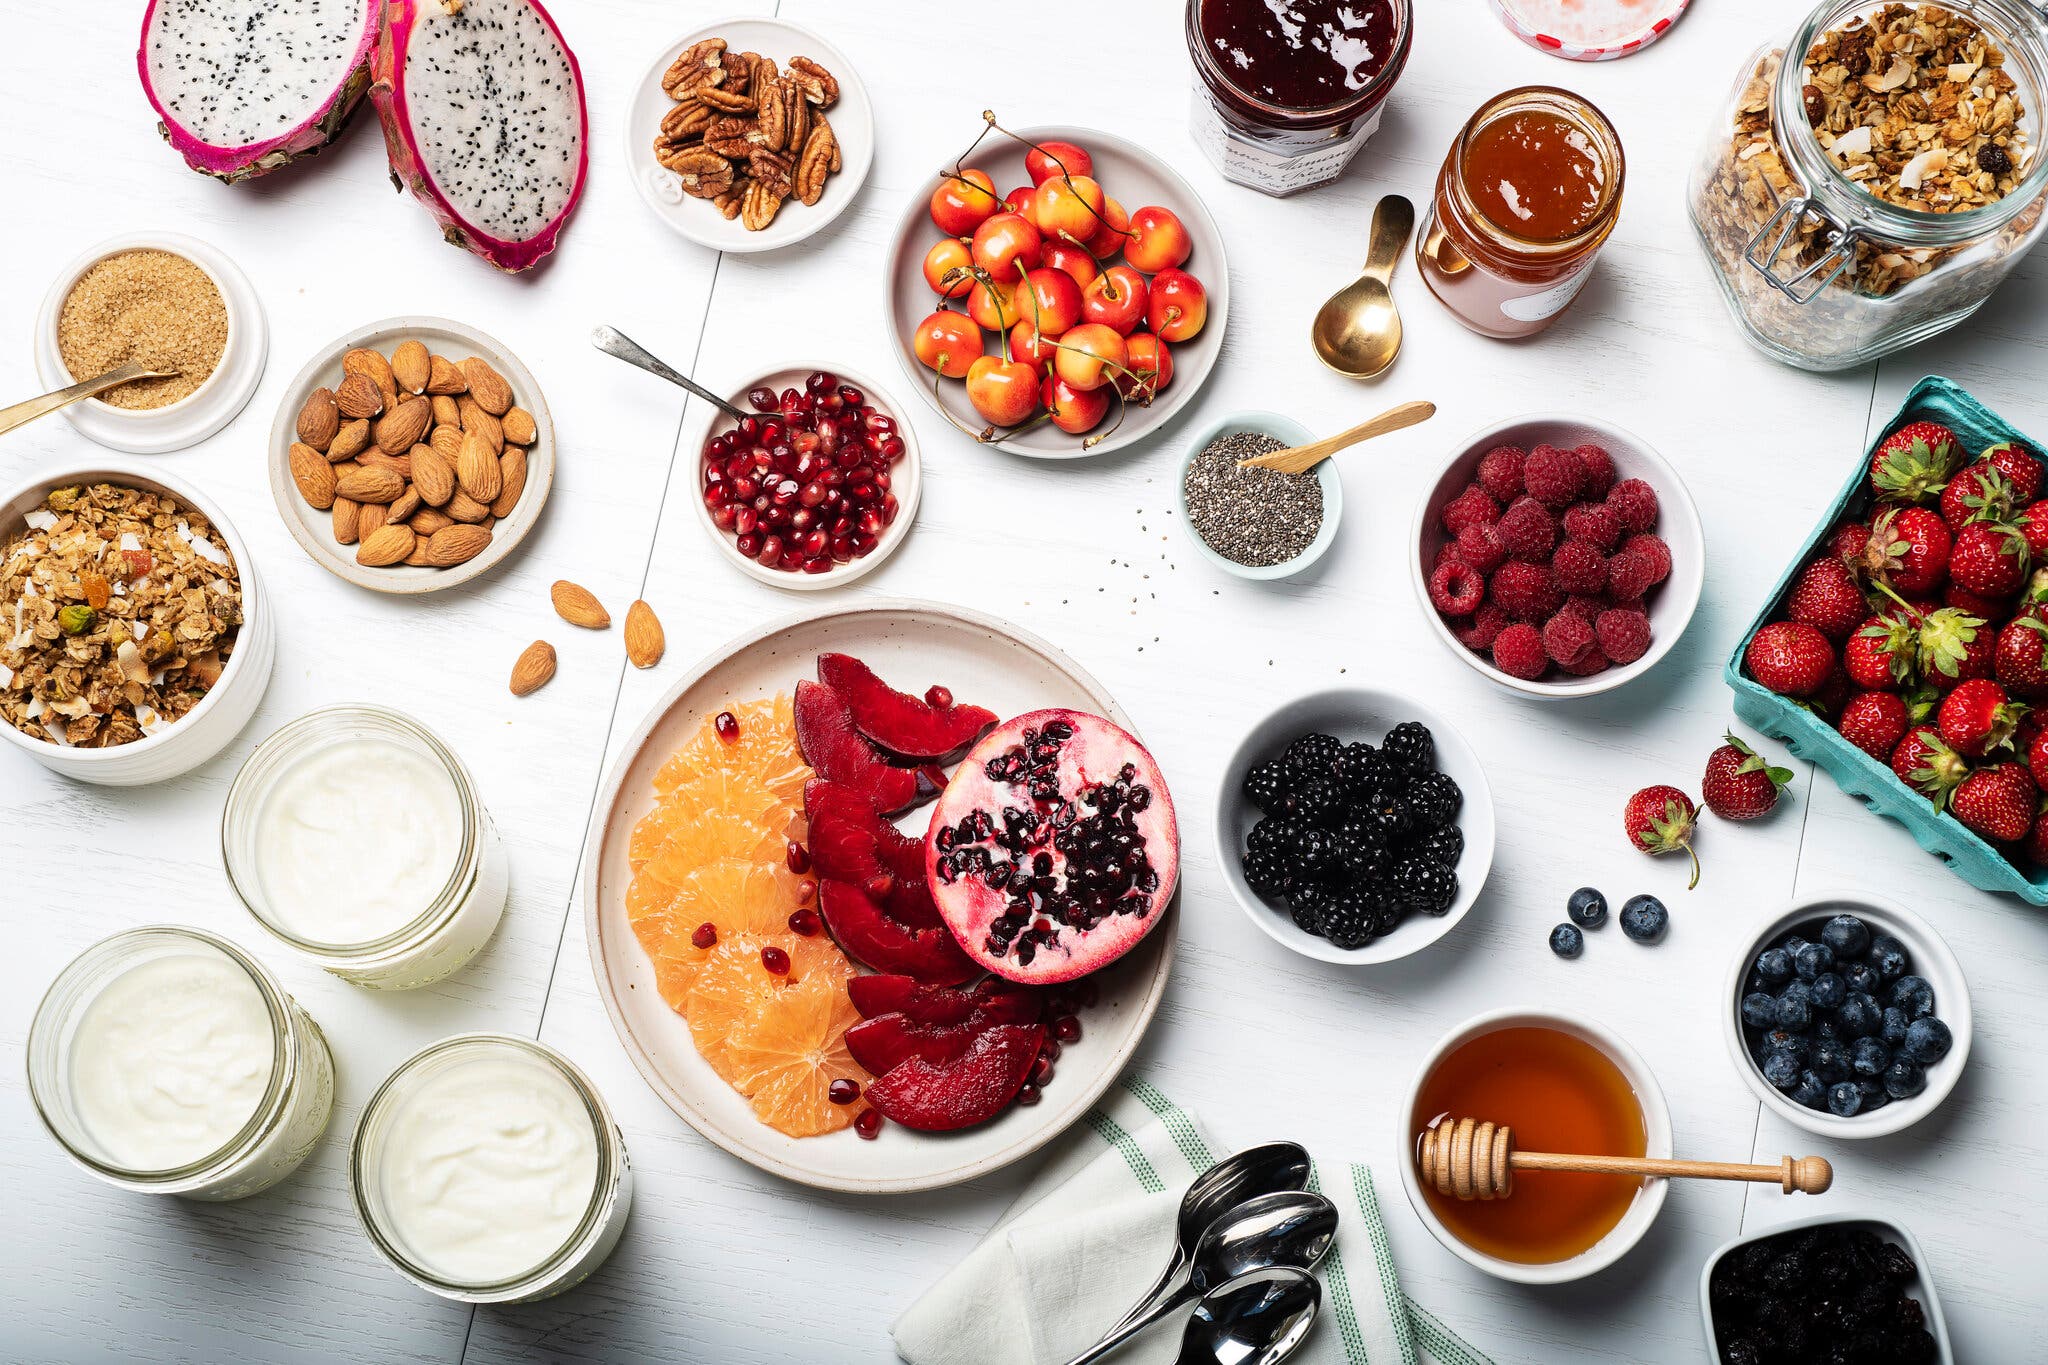
There are myriad ways to top yogurt, whether the usual granola and honey, flavored syrups or jams, compotes, fresh fruit, coconut, nuts, and even vegetables, hot sauces and pickles. Here are some ideas to get you started.
Once you’ve made plain yogurt, you can think of it as a blank canvas. You can, of course, top your yogurt with nuts or any number of granolas — whether one made with olive oil and dotted with pistachios and apricots or flax and mixed grains. You could sweeten it with honey, brown sugar or maple syrup, or branch out with any number of jams and compotes, store-bought or homemade, experimenting with favorite flavors. Or try other, more savory toppings: poached eggs and mint, cucumbers and olive oil, crunchy chickpeas, and roasted root vegetables like beets, carrots, and even sweet potatoes.
You can also use your yogurt as a topping itself, to bolster other dishes. A dollop is a welcome addition to a batch of oatmeal, offering a bit of tang to an otherwise mellow dish. And you can always use it to top soups in place of sour cream.
Making yogurt is simple, but even the simplest things can go wrong on occasion. Take heart. It happens to the best of us. Here’s a list of issues that may come up, and the best course of action if they do.

Christopher Testani for The New York Times
How long should I ferment the yogurt?
The longer you let it sit, the more sour it will be. Ferment your first batch during the day (instead of overnight), so you can taste it every few hours and make sure it’s to your liking before you refrigerate it. If it seems too mild after 12 hours, you can let it sit out to increase the tanginess: It can be out at room temperature for up to 24 hours without spoiling.
Where’s the best place to let my yogurt ferment?
In a warm place. A turned-off oven with the oven light on; wrapped in a heating pad, towel or warm blanket, like a sheepskin or down quilt, and set on a countertop, a corner of your kitchen, or on top of the fridge. Some people like to put it in a cooler filled with a few inches of hot water. It doesn’t matter where, as long as it’s relatively warm. The warmer the spot, the more quickly the milk will ferment. The ideal temperature range is 90 to 105 degrees, but even warm room temperature will get the job done, albeit more slowly. And this should go without saying, but keep the setting yogurt away from a cold draft or air conditioner.
How can I make sure my milk doesn’t scorch?
Rub an ice cube over the inside bottom of the pot before adding the milk.
Harold McGee, who writes about the chemistry of food and cooking, says: “When you rinse the pot with water, you precoat the metal surface with water molecules, and that coat seems to protect the surface from direct contact with the milk proteins when you pour the milk in. When you turn on the heat, the protein molecules take longer to contact the hot metal and bond to it. So less protein sticks to the pan bottom and scorches.”
What do I do if my pot of milk boils?
Take it off the heat immediately, stirring it to cool it down, or transferring the pot to an ice bath. Boiled milk will make for a thicker yogurt, but perhaps one with a bit less bacteria. As long as you bring it down to 110 to 115 degrees before adding the starter culture, the yogurt should be fine. If the milk was boiling to the point that it’s curdled, start over. At that point, both texture and flavor will have been compromised.
Should I use an ice bath to cool the milk?
It is easiest to let the heated milk cool to 110 to 115 degrees without the use of an ice bath, as long as you have the time. (It can take 45 minutes to 1 ½ hours, depending on your pot and how much milk you’ve heated.) Letting the milk cool by itself (uncovered) allows it to release steam, which results in a thick, custardy yogurt. With an ice bath, you run the risk of cooling the milk too much or unevenly: Make sure to keep a watchful eye and stir constantly.
If you plan to ferment the yogurt in the same pot you set in an ice bath, you might want to warm the pot slightly before setting it aside to ferment. Otherwise, the milk’s temperature could continue to drop: Simply put the pot back on the stove for a few seconds to warm it.
My yogurt isn’t setting. What did I do wrong?
It could be the starter culture, which loses its thickening power over time. As a precaution, buy a new yogurt starter after about every 3 to 5 batches.
Adding starter to milk that is over 130 degrees can also kill the bacteria, so avoid any bacteria-decimating hot spots by stirring the milk well before taking its temperature.
Milk with too many preservatives (nondairy milks, in particular) may not ferment. Those preservatives are doing their job, that is, inhibiting the bacteria. Start again with new milk. Here are more tips from readers.
My dairy yogurt is pretty thin. How can I thicken it?
A dairy-based yogurt shouldn’t need extra thickening unless you’re starting with skim or low-fat milk. In those cases, ½ cup dry milk powder can be added to 2 quarts milk before heating. If you’re starting with whole milk, consider adding cream, or strain the yogurt after it sets.
To do so, set a colander or sieve over a bowl and line the colander with cheesecloth. Take the finished yogurt, before or after chilling, pour it into the colander, and let it sit in the refrigerator for 2 to 6 hours to drain the excess water, or whey. When it looks thick enough for your liking, transfer it to a storage container. If it becomes too thick, stir some of the whey back in. Reserve the remaining whey for smoothies, soups or lemonade, add it to bread and pizza dough or use it to marinate poultry.